Your shopping cart is empty!
0


$0.00
0
$0.00
GETTING TO KNOW YOUR 123 ROBOTS
The VEX 123 is an all-in-one edtech solution for primary educators. This palm-sized robot is perfect for young minds (pre-k through 3rd grade) to begin hands-on learning, which can help students focus and stay engaged in the lesson. The VEX 123 robot promotes active learning and teaches social-emotional skills to help children manage their feelings and show empathy for others. And of course, as an introductory product into STEAM education, it also teaches math, coding, and literacy. The VEX 123 allows young students to easily get started with basic programming without needing to know how to read. The VEX 123 Bundles are an affordable STEM Solution to save time and money with an all-in-one solution that can be shared amongst classrooms and teachers.
Students can learn to program in three different ways that grows more challenging while introducing new concepts as young learners progress from one method to the next.
BEGINNERS: Create sequences using the touch-sensitive buttons on the 123 Robot. Control movements and sounds to learn basic logic and problem solving.
INTERMEDIATE: Insert physical coding cards into the revolutionary VEX Coder to send commands wirelessly to the 123 Robot. Using the VEX Coder and physical cards, students can learn real programming away from screens.
ADVANCED: Unlock the full power of your 123 Robot with VEXcode 123, powered by Scratch Blocks, to Drag. Drop. Drive.
Check out our blog on How To Code Your 123 Robots for more information
THE FIELDS
The field is fully configurable. You don’t have to create just a square; there are different ways to put the tiles together to make different configurations and different challenges. The field is made of durable plastic, and it easily snaps together. Each of the tiles are 9” x 9” with perimeter pieces that snap on as well. They are nice and thick and nice and durable with rubber stoppers on the bottom, so they don’t slide around. And, it’s as easy as snapping together or popping apart to store or move. Once the fields are put together, they are very rigid! So, you can pick them up and put them in a closet or whatever you need.
Question: Is there a difference between VEX 123 and VEX IQ fields?
Answer: Yes, the size of the field tiles are different. The VEX 123 field tiles are 9” x 9” and the the IQ field tiles are 12” x 12”. You could use a 123 robot on the IQ fields; however, what is great about the VEX 123 fields is that it comes with the squares for each unit of measurement, so the students don’t need to know cm or inches or other measurement units.
Question: Will it work if you put things on top of the field?
Answer: Yes! You can tape things to the field, or use dry erase marker on the field as well!
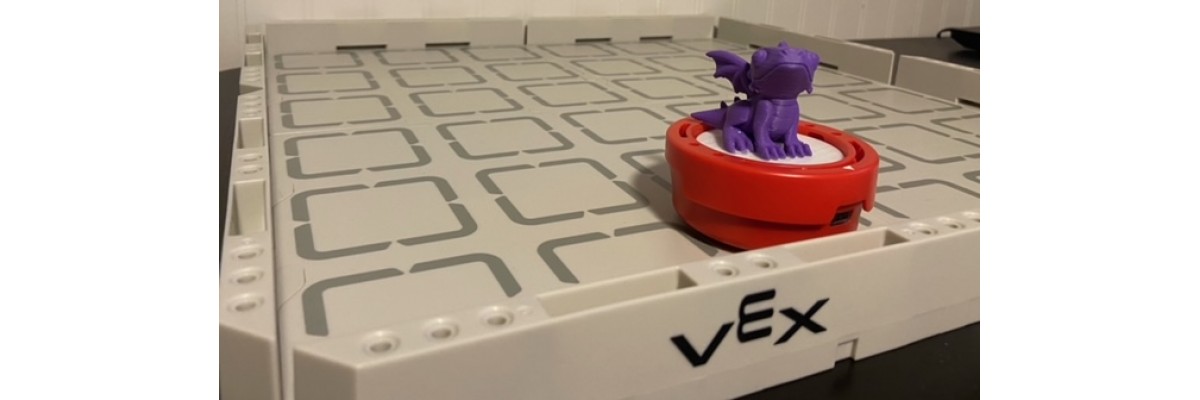
THE ART RING AND FUN ADD-ONS!
It’s not just a puck that drives around. VEX Robotics includes an art ring with the VEX 123 Robots that just snaps on and the idea here is that you can add things to it. We can use some templates provided by VEX Robotics and we can turn our robot into a dragon.
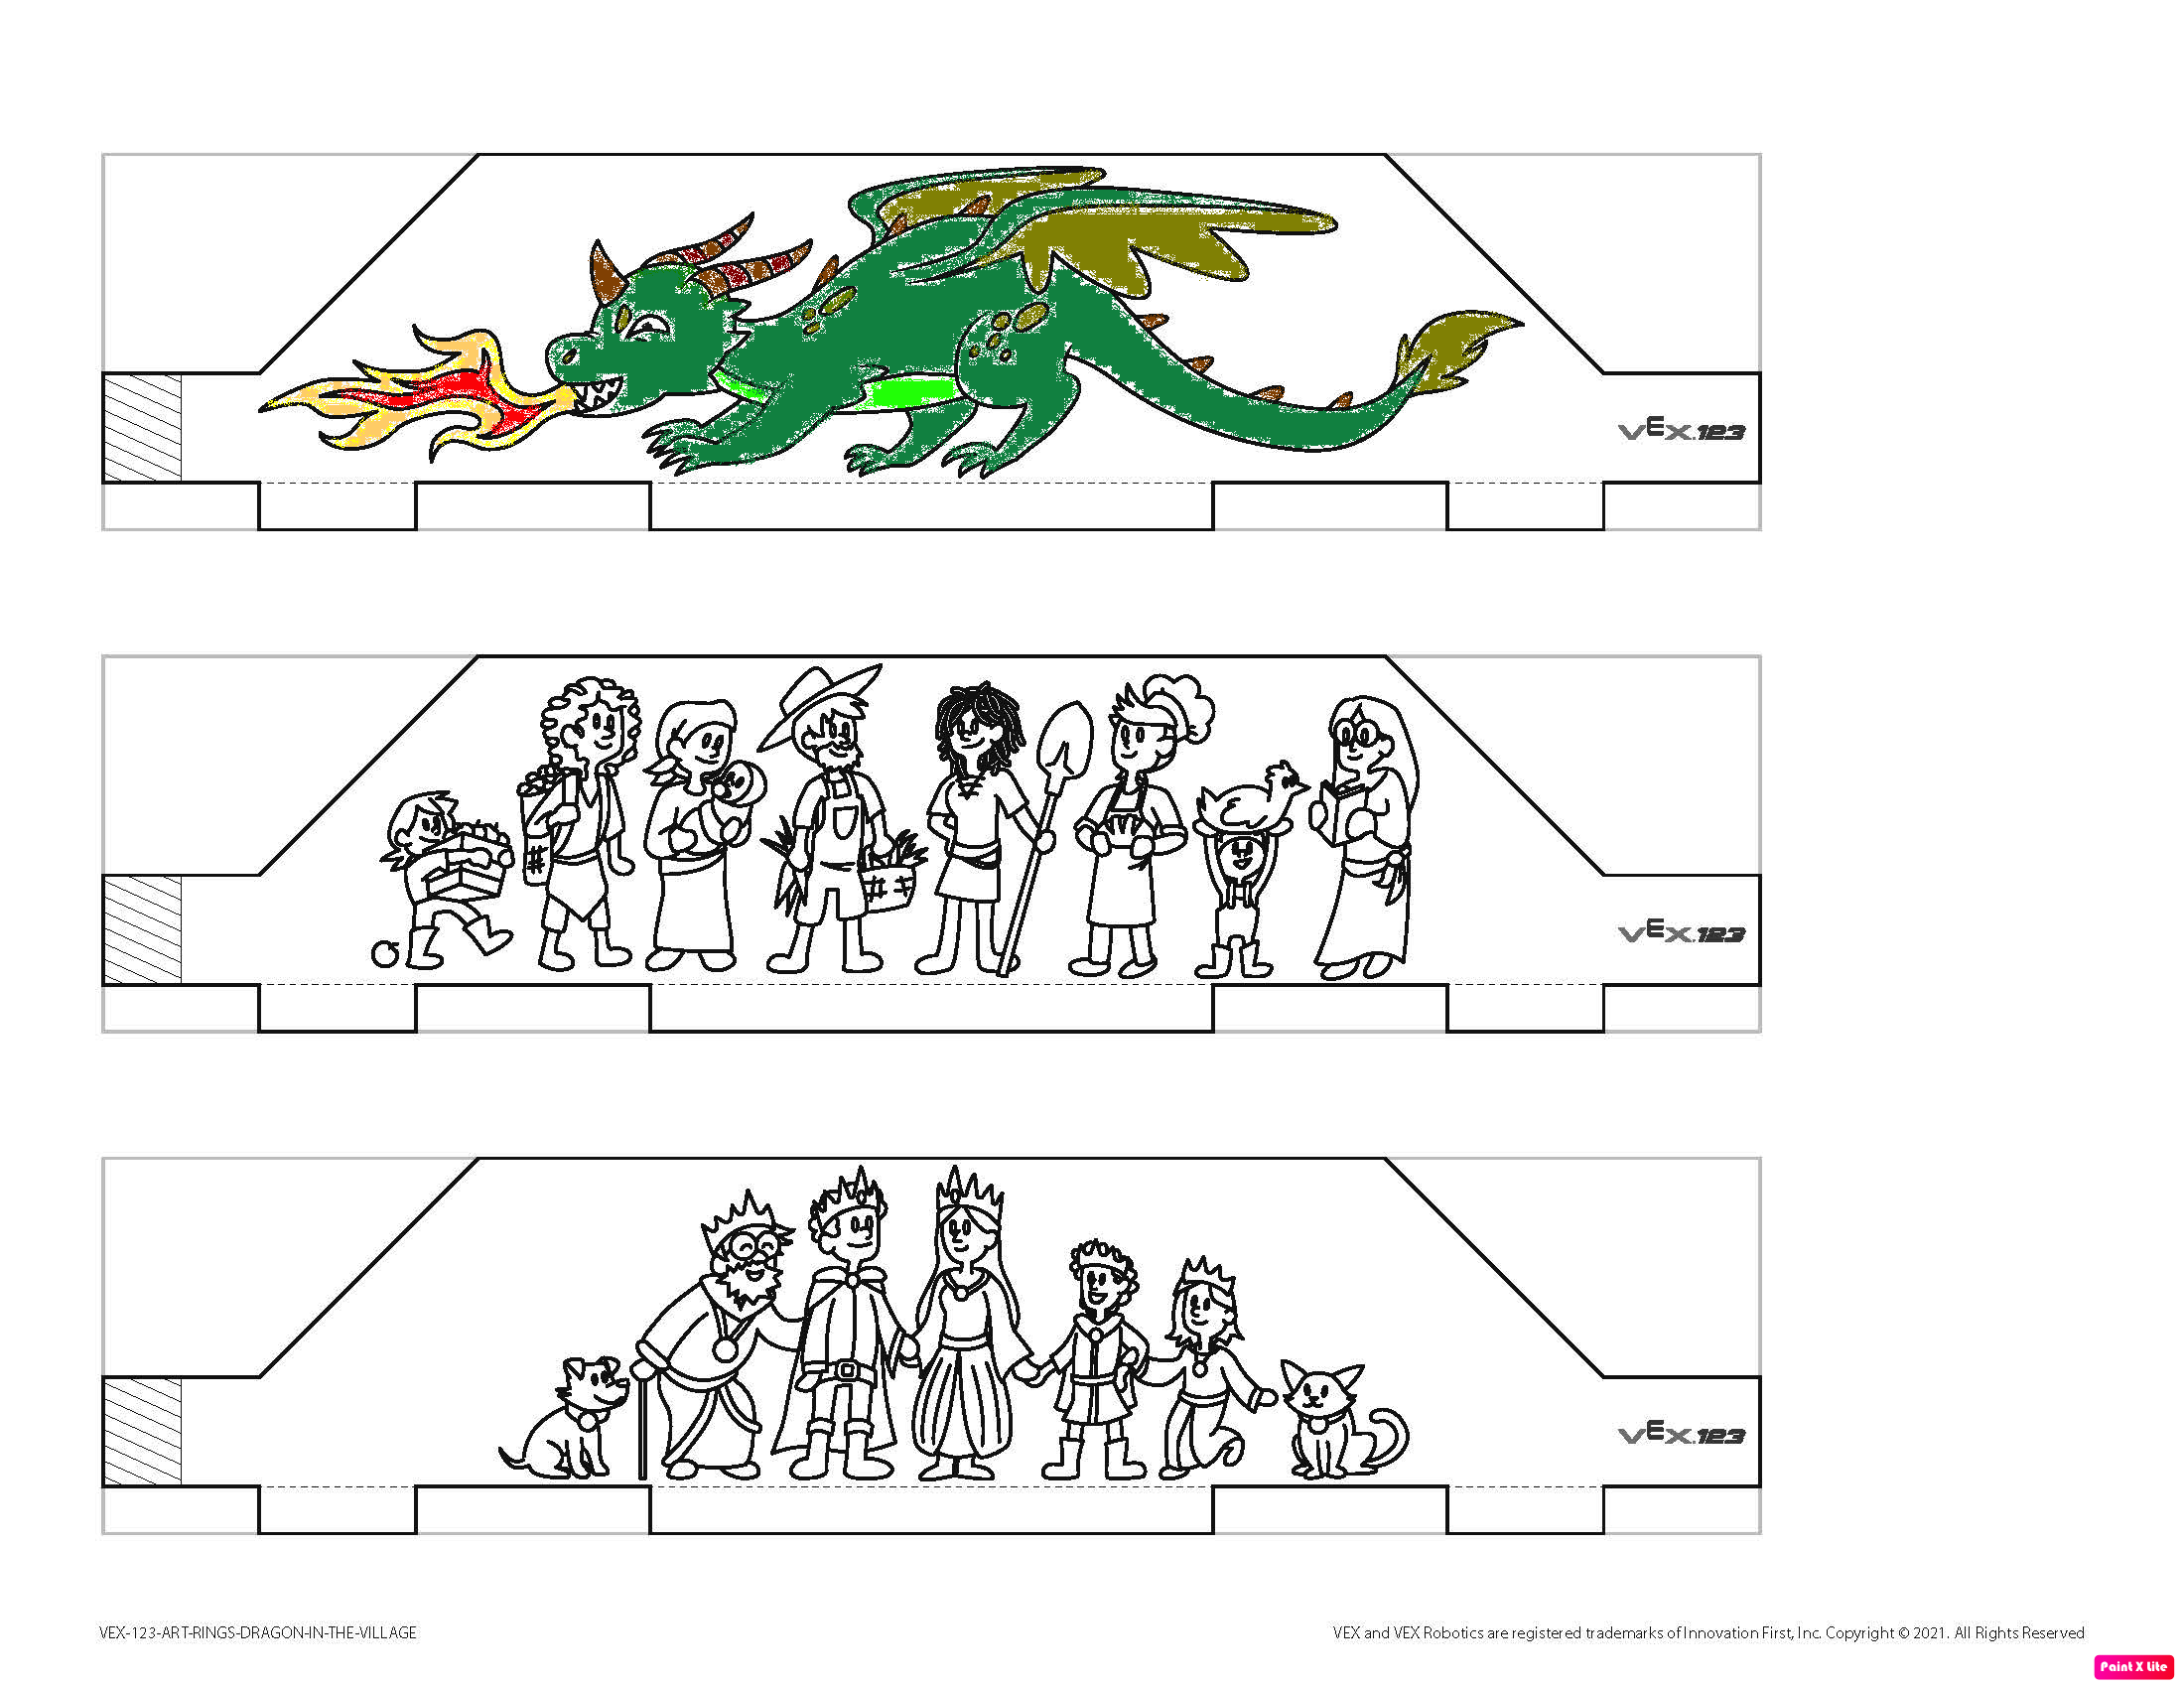
Now we can use the robot to tell a story or go on an adventure. And with the templates added to the art ring, the students can still access the buttons on the top of the VEX 123 to be able to code it. Now instead of just a puck to drive around, they are coding a dragon to drive around.
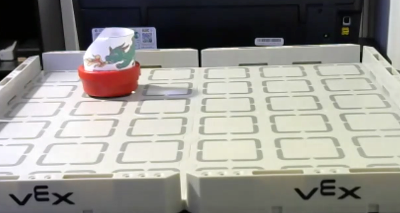
Take it one step further and add in some 3D printing. Here we have 3D printed the dragon and added it on top of the robot and had some fun with it.
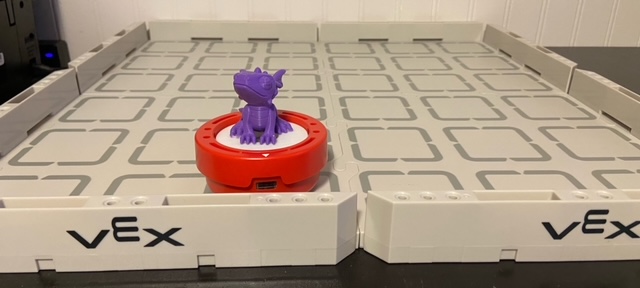
There are other things you could do, such as a 3D Robot, a 3D Castle and 3D Huts, which allows you to bring the students into a 3-dimensional world. With the 3D printed pieces on top of the robot, the buttons will be inaccessible to press, but the robot can still be coded using the VEXcoder or the VEXcode software.
Click here if you want a copy of the 3D Printing Files!
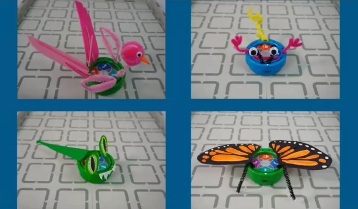
Even if you don’t have a 3D printer, you can still have your students build some pretty cool creations to bring your robot to life, so that they aren’t just driving a puck around the field. By using different art supplies, such as pipe cleaners, their robots now turn into flamingos, butterflies, or monsters!
THE LESSON PLANS:
VEX Robotics calls lesson plans, STEM Labs. So, when we refer to STEM Labs, we are referring to the plug-and-play lesson plans that have been developed by VEX Robotics. VEX Robotics have lesson plans for all their product lines! You can find them all on education.vex.com
The STEM Labs are broken up into categories. We can filter them by level, by subject (coding, literacy, math, social-emotional learning), or by type (Activity or STEM Lab). After you have taught the lessons in the STEM Labs, you can pick the corresponding Activity Series so that you can have some more fun with what you already taught them!
THE TEACHER RESOURCES:
VEX Robotics have different countries’ content standards that they have mapped out to each of the lessons. There are USA, England, and Scotland standards listed.
For a list of Ontario Standards, send us a message!
VEX Robotics also have a full Getting Started Guide, Introducing VEX 123 to your Students, an Implementation Guide, Why Use VEX 123 STEM Labs, but the main one to look at is the Pacing Guide! The pacing guide lists all the lessons based on the lab title and what primary concepts you’re working on or secondary concepts, plus level and method of coding. So, you’ll likely want to refer to this list to choose which lessons you’d like to get started with!
There is also a one-to-one pacing guide, which makes it easy to choose which activities are aligned with STEM Lab skills that you’ve already taught. Say you just completed and taught the Role Play Robot STEM Lab, it’s Friday afternoon and you just want something fun; you now have 3 activities (Training your Pet, Coder Monster, and Corner Color) where you don’t have to teach your students anything new, because they’ve already learned the skills and concepts they need to do these exercises and have fun with it.
There is also a STEM Lab Material List, which can be used to make sure that you have everything you need depending on what lesson you will be tackling that day. For example, for the Dragon in the Village STEM Lab, you need the robot, the field, the art ring, paper and markers, as well as some art supplies as you get to decorate your robot. It also gives the links to all the resources that you’ll need for that particular lesson, such as Slideshows.
You’ll notice that most of the VEX Robotics resources open in Google Docs, so you can save it, modify it, sort it, and do what you want with the information to make it your own.
LET’S GET STARTED:
Dive into the first STEM Lab called Meet your Robot, which is a story that you can share with your students where the 123 Robot is the character and it’s talking about itself. If you open the teacher’s version, you’ll notice that there are notes on the side (the student version would not include these notes and would be of only the slides.) It begins with an introduction, where the teacher would prompt the students with questions such as, “What are some robots that you have heard of?” The next few slides go on to outline what is a robot, we talk about how we power it on, and how does the robot communicate using light, sound, and motion.
This first STEM Lab is meant to be done when you take the VEX 123 out of the box and the students don’t have a 123 Robot in front of them yet, and you’re showing them how it works. Some of the STEM Labs are story based like this first STEM Lab, so it allows the students to work on literacy as well and it’s not just about robotics and coding.
We’ve put together our favourite 3 STEM Labs and 3 Activities that we recommend getting started with first! If you want a copy, send us an email!
Click here for more information on the VEX 123.
Related Products

Leave a Reply
Your email address cannot be published. Required fields are marked*


No comments